Windows 11’s user interface changes – dare I call it a face lift? – improves some things, while making (or leaving) other things counter-intuitive. Connecting to a wireless network decidedly falls into the latter category. If you mostly use a computer with a wired connection, or your computer pretty much stays at home, then it may be quite awhile before you notice how this has changed. But if you carry a laptop with you frequently and often have to connect to different wireless networks, you’ll run into confusion pretty quickly.
Please note that this is a “how-to” post, not a troubleshooting post. If you know how to connect to a wifi network with Windows 11 but are having difficulty doing so, then your best bet is to go to our Contact page and request a service call. (Or you could go back to good ol’ Google and keep searching…)
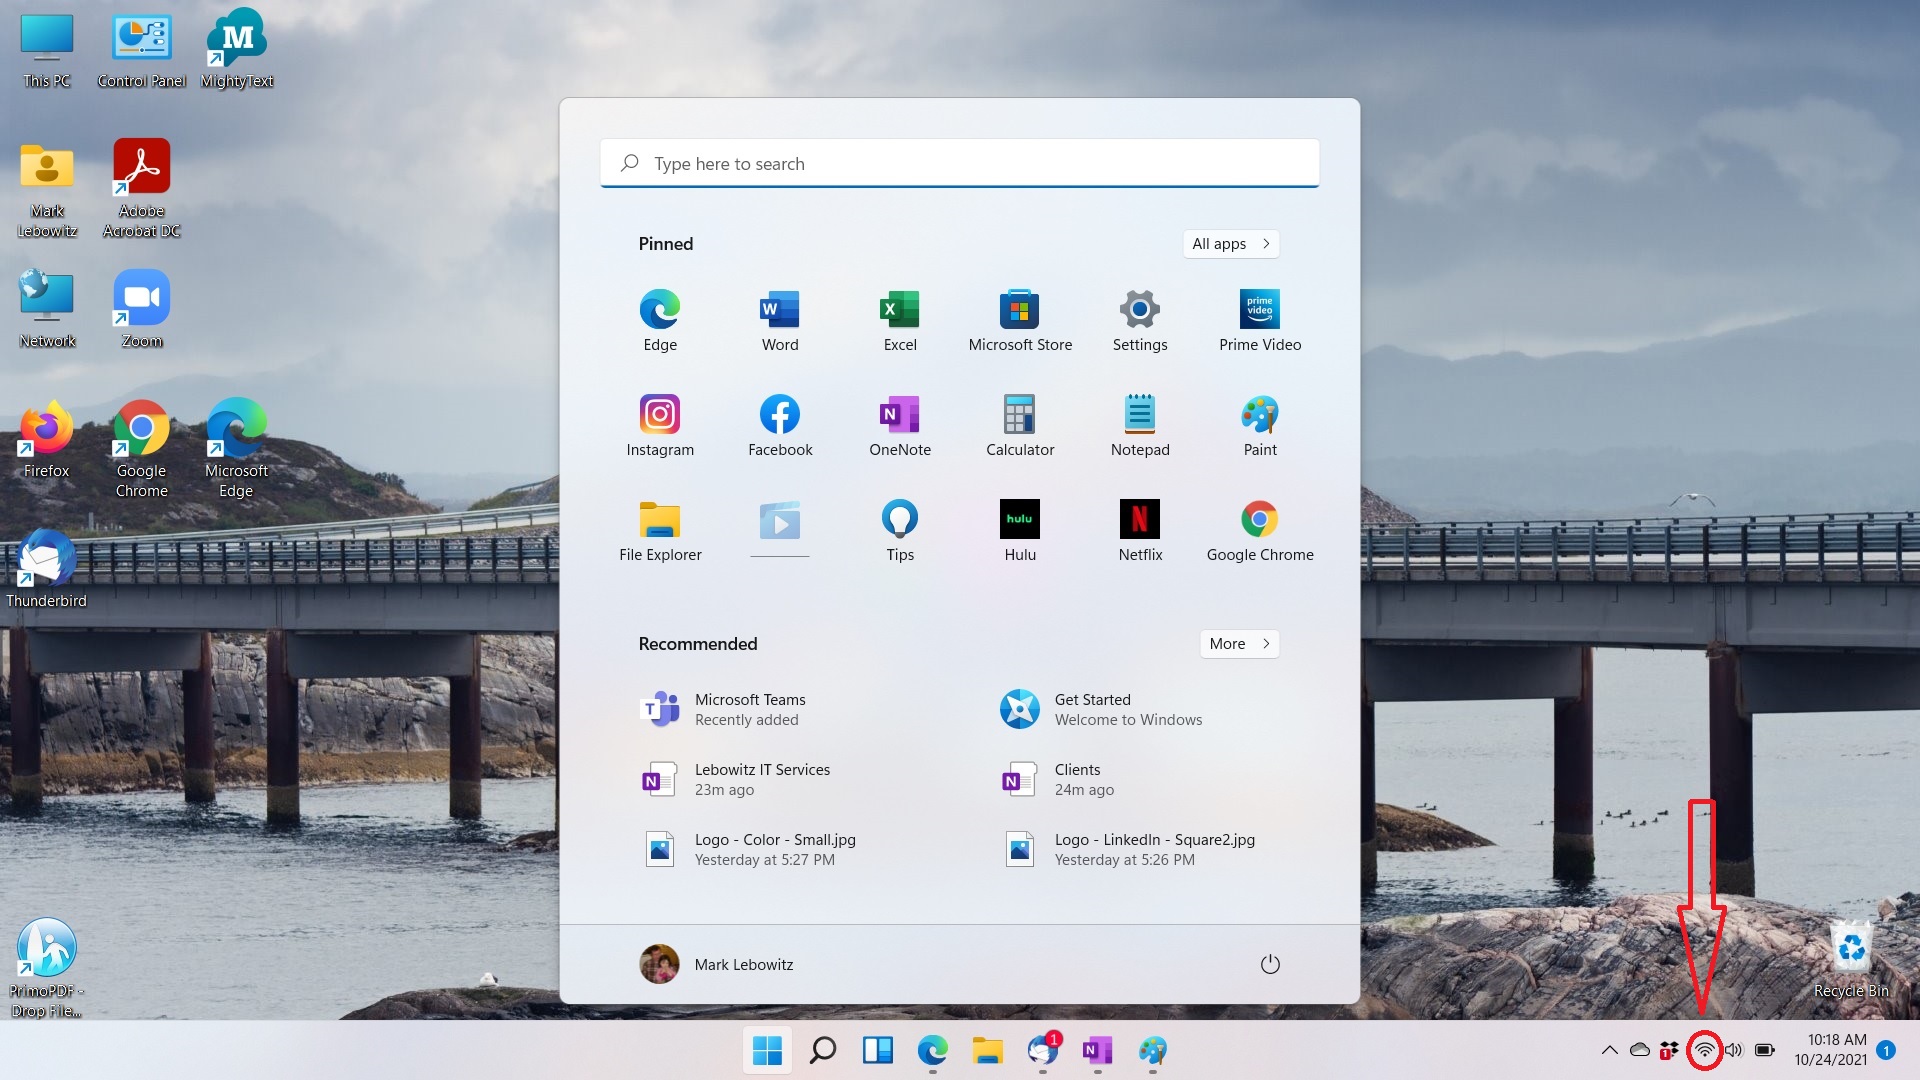
As you can see from the introductory screen shot on this post, the first change to the wi-fi interface is actually a good one. In Windows XP, Vista, 7 and 8, the wi-fi icon in the Taskbar Notification area looked like the cellular signal strength bars that people were used to seeing on their mobile phones. In Windows 10, Microsoft changed that icon to something similar to the wi-fi signal strength indicator seen on Mac computers and smartphones, but they rotated it 45 degrees to the left so it appeared to sit on its side. Since I know of no other milieu in which the wi-fi symbol looks like that, I began describing it to clients as a “quarter of a target”. The symbol for “no connection” was even less intuitive – a line art image of a globe. (There is a subtle difference between the “No Internet” and “No Connection at All” versions of the globe, but most people fail to see it.) Unfortunately, the “no connection” icons haven’t changed noticeably for Windows 11, but the wi-fi connection now looks like the ones found in Mac OS and on most cell phones, with the slice of the target standing on its point, allegedly resembling radio waves coming off of the top of an antenna. I don’t know if the latter interpretation qualifies as intuitive, but at least it’s consistent with other devices now, and thus should be less confusing.
As with Windows 10, when you want to connect Windows 11 to a wireless network, click on the network glyph in the Taskbar Notification Area:

So far, so good, or at least so familiar. Unfortunately, what appears next is not:

The pop-up that appears is actually a combined status dialog box. Starting from the top row, left corner, we have wifi status, Bluetooth status, and the last-used VPN, if any. On the second row, we see Airplane Mode, which toggles all networking on or off; Focus Assist, which we’ll ignore for now (there will be a future blog post on this), and Accessibility, which we will similarly ignore for now. Below that we have a brightness control (if you’re using a laptop or all-in-one with software-controlled brightness) and volume control.
Windows 11 leaves the uninitiated wondering what to do next. The most intuitive thing to do is click on the wifi symbol in the upper left, but all that does is turn the wifi radio off. (Click it again to turn it back on.) What you actually need to do is click on the “>” in the right half of the button with the wifi symbol.

Doing that brings up a the familiar list of wireless networks. From this point on, the procedure is the same as in Windows 10: choose the network you want, enter the password when prompted and Windows 11 connects right up.